In my
office, we occasionally end up with large stacks of paper. One side has been used, filled with typed
information. The other side is still
clean. Even though our office recycles,
I still get a little twitchy when I see all that paper going into the bin, when
I know a simple way to use the clean areas of paper and THEN dispose of it in
the recycle bin. I know, it’s not
much. But every little bit helps.
Some may
argue that this is an awfully simple craft, and not the most attractive
presentation. My response would be that
this blog is about using what I have on hand to make something new. It doesn’t HAVE to be pretty. And hey, if other people who do this want to
embellish their notepads, that’s great!
Bling them up, add a bow or beads or anything else. Functional cuteness is splendid, it’s just
not my goal with this particular project.
That and I’m
doing it during my down time at the office.
I tend to leave my ribbons and glitter at home. Although I do have these cute little
adhesive-backed rhinestones…hm…
So anyway,
what did I use for this?
-A stack of
white copy paper
-Clear
school glue gel (white glue or Mod Podge would work just fine too)
-Scissors
-Large
binder clips
-A flat
object, like a popsicle stick, to smear glue with (I used the back of a letter
opener, because that’s what I had on hand)
First, I
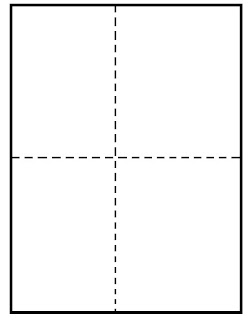
took a few sheets of paper at a time, and folded them in half this way:
Then, I
folded them in half THIS way:
 |
| I know, it's not in the middle. I eyeballed it. |
With the
papers still folded, I used the scissors to carefully cut the folds, directly
on the seams. I ended up with four
pieces of paper (per full size sheet) approximately equal in size. Remember that I said above I used a few sheets
at a time. This was to expedite the
process. Not too many though, because
it’s tough to cut through too many sheets all together.
Next, I went
through all the paper, turning it so that the blank sides were all face up, and
the written sides were face down. Like a
big deck of cards.
I took the
large binder clips and secured each side of the paper stack along what I
decided would be the top of the notepad.
I applied
glue to the top of the notepad. I spread
it evenly using the flat end of a metal letter opener. I used enough to saturate the paper into the
nooks & crannies, but not so much that it would be drippy. The binder clips were handy here, because
they kept the notepad raised off of the table while the glue dried. It probably only needs a few hours, but I
left it overnight.
And
voila! I have several fresh notepads to
jot down important stuff. Names, phone
numbers, doodles, poetry, or whatever.


No comments:
Post a Comment